


Introduction
Well, this admittedly is a bit odd for the first post ever on this blog (hey Hashnode - initial impressions are very slick - great job!) - but I wanted to jot down some quick instructions in case someone is looking to use Microsoft's fantastic Cascadia Code font on Linux.
Specifically, my target is an Amazon Workspace Linux desktop, though these would work for RHEL / Fedora flavors as well.
For the impatient, head over to Step 1.
Wait, but why?
Aren't there good enough fonts out there for Linux? Well, as much as I love Linux, when you are using Linux as a primary desktop (which I use for work), I find the font options decent, but usually not able to compete with MacOS or Windows in terms of the sheer quality / variety of fonts as well as the rendering itself. There are legitimate reasons for this - but let's not dig down that rabbit hole.
Secondly, I'm a huge font-nerd. I've wasted countless hours of my professional life trying out multiple monospaced fonts on Windows, Mac and Linux. So far, my absolute favorite and gold-standard has been Microsoft's Consolas when on Windows - until Cascadia Code came along (and now I keep switching between the two 😁).
With Cascadia Code, I have the same slick experience on my Linux work desktop that I have on Windows Terminal and WSL2 (the current Windows 10 developer experience is awesome - food for another blog post though).
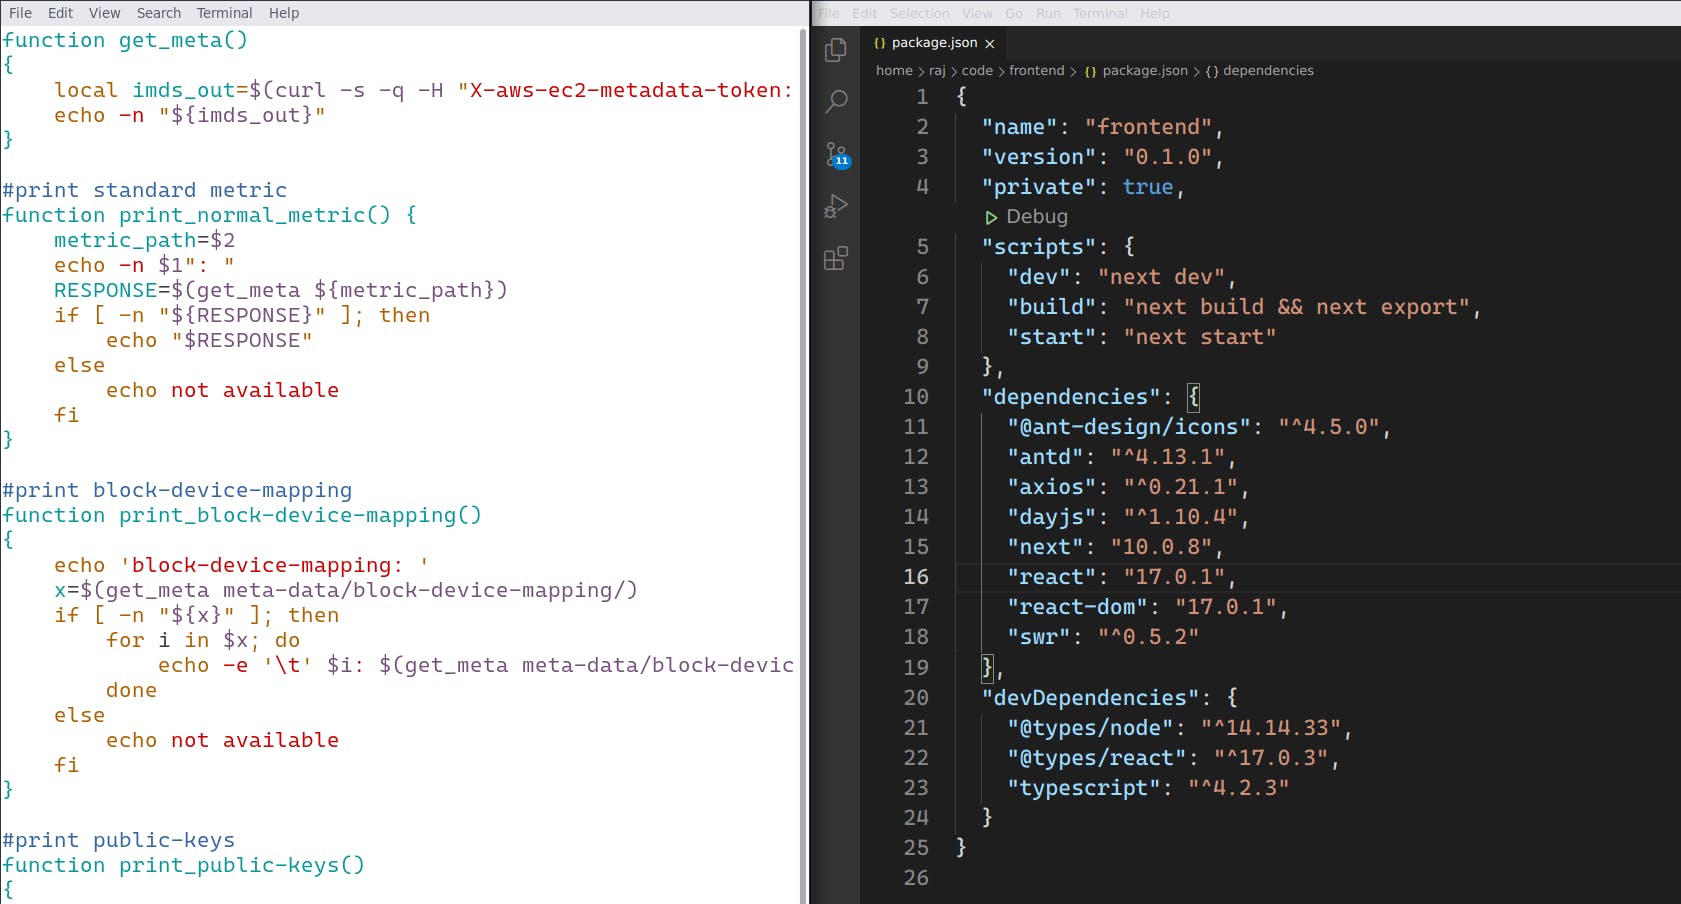
For example, here is a screenshot showing a terminal and VS Code with this font using differing weights and backgrounds:
Step 1: Get the fonts
- First, head off to the GitHub release page for this font.
- Copy the URL to the zip-file containing the latest release (this one as of this blog post).
- Download using your favorite browser, or
curlorwgetand save it to your filesystem. - Extract the archive. On the terminal, the following works:
unzip ~/Downloads/CascadiaCode-2106.17.zip
Step 2: Install the fonts
The Command Line Way
- Copy the fonts to your user font-cache directory, and refresh the font cache:
$> mkdir -p ~/.local/share/fonts/
$> cp ~/Downloads/ttf/Cascadia*.ttf ~/.local/share/fonts/
$> fc-cache -v

.... lots of output
/usr/bin/fc-cache-64: succeeded
The UI Way
- Open the folder containing the
.ttffonts using your preferred file manager - Double-click the fonts you want to install - this should bring up a font viewer app, where you can hit the
Installbutton.
Step 3: Use the fonts
This step largely depends on the application where you wish to see Cascadia Code in all its glory. For example, for VS Code, you need to use the following in File > Preferences > Settings:

Similar methods exist for the terminal (Edit > Profile Preferences) or Intellij IDEA (File > Settings > Editor > Font).
💡 Tip
The default Cascadia Code may be too bold for many folks - in that case try out Cascadia Code SemiLight.
Conclusion
Hopefully you like Cascadia Code. If not, don't forget to try out other monospaced fonts on Linux. Several of your favorite Windows / MacOS fonts may actually be usable on Linux - give it a try!
Credits
Cover Photo by Mika Baumeister on Unsplash